Installation and Quick Start
Installation is handled by an Install Wizard. By default, all of DX Monitor's files will be placed
in a folder called DX Monitor usually in the Program Files folder. Subfolders will
be created as necessary by the program.
Vista users should use a different
folder, such as c:\DX Monitor and not install the program under Program Files. See the
FAQ for more information.
The Data subfolder contains the accumulated history of DX spots and
any custom filters you have created.
To remove DX Monitor, use Add/Remove Programs. Delete the DX Monitor folder if necessary.
Installation
- Download the latest version of DX Monitor.
- Run the downloaded self-extracting install file, e.g. dxmon120.exe.
- Read the documentation and help files. Press F1 in any window for help on that window.
Search the Help files from the Help Menu
- Display of predicted signal strength and filtering requires the
installation of VOACAP and HamCap. Both programs are free.
- The free K4HAV FCC database is updated weekly and also includes Canadian addresses and information.
Install the free K4HAV FCC Database to accurately map US and Canadian stations.
Tip:
Many of DX Monitor‘s features are accessible with right-click popup menus, or enabled in the
Options Menus. You will not get the full benefit of these features without reading the documentation.
|
Quick Start
- Connect to the internet.
- Run DX Monitor (there should be a new icon on your desktop).
- Enter your callsign and location and press the Close button.
- Press the green AUTO button on the toolbar to download data. It changes to a red
STOP button.
- Resist the temptation to play with options until you have some data downloaded. It can take a few minutes the first time.

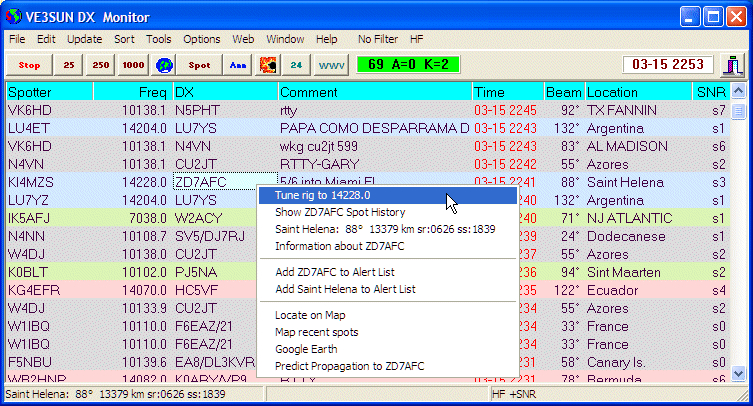
DX Monitor Main Grid Window
- Wait for data to arrive and populate the window.
- Press the
 flaming Hot Spots button for a list of the hottest DX right now.

Top Spots in Past 3 Hours
- Double-click any call on the list to see the frequencies and times of recent spots.

Recent spots of P29SX
- Click the
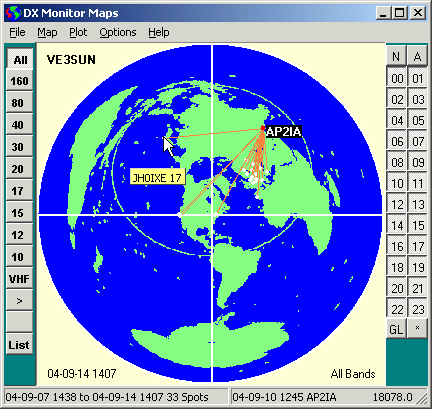
 Map Button to plot all the paths on the map.

Propagation to AP2IA
In general, throughout the program, the Help menu will take you to specific help
pages for that window.
The Help Search will search all of the pages for references and produce an index to them with
summaries.
 Map Button to plot all the paths on the map.
 Map Button to plot all the paths on the map.